Hackathon: STORYBOARD GENERATOR
Project overview
My Role
We had a team of 6 in our hackathon group consisting of 2 engineers and 4 designers (all of the designers with some coding background). I contributed to the overall ideation during the initial phase, determined the layout for each frame, created all the hand-drawn assets, and added in the metadata for all the assets.
THE PROCESS
For the project, we followed these steps:
1) Identify the Problem
2) Brainstorm Ideas
3) Divide and Conquer
4) Converge, Test, and Iterate
The Event
VMware hosts an internal hackathon (called Borathon) twice a year, where employees have 48 hours to define a problem and create a working prototype on any area they feel like that would have an impact on the company.
The Challenge
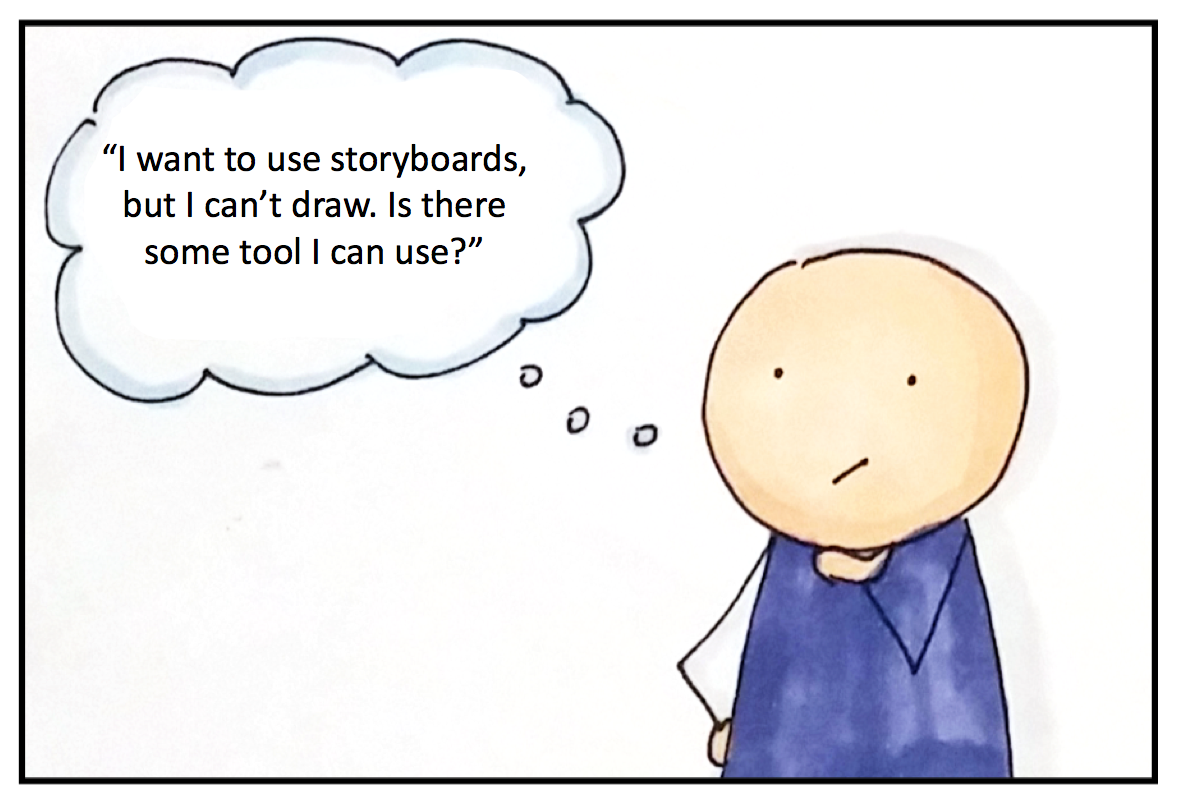
Our goal was to create a storyboarding tool that would empower anyone to create their own story visuals to help tell an effective story. A lot of our internal designers, engineers, and product managers requested some tool they can use even if they have no drawing skills.
identify the problem
Shortly after I joined VMware, I championed the usage of storyboards to convey user problems and tell the end-to-end user story. My team used it at various research sessions, and we wrote a research paper on the benefits of storytelling. We wanted to advocate for storytelling as a tool not just for designers but something anyone in any field can use to create shared understanding on a user topic.
A piece of our poster we presented at our internal conference. We wanted to emphasize how storytelling helps us focus, align, communicate, and empathize.
The paper was selected to be a poster presentation as part of VMware’s Research and Development Innovation Offsite (RADIO). Thousands of members of our R&D team came by to see our paper, we won the best poster award, and by the end of the conference, I was being bombarded with questions on how people can create storyboards on their own.
VMware’s internal hackathon was just two months after the conference, and through some hallway conversations, a team was assembled. Our goal was to create a storyboarding tool that will empower anyone to be able to create their own story visuals, even if they have no drawing skills. The target user includes anyone in a product development team, including designers, PMs, and engineers.
We had the problem discussed and agreed upon before going into the hackathon.
brainstorm ideas
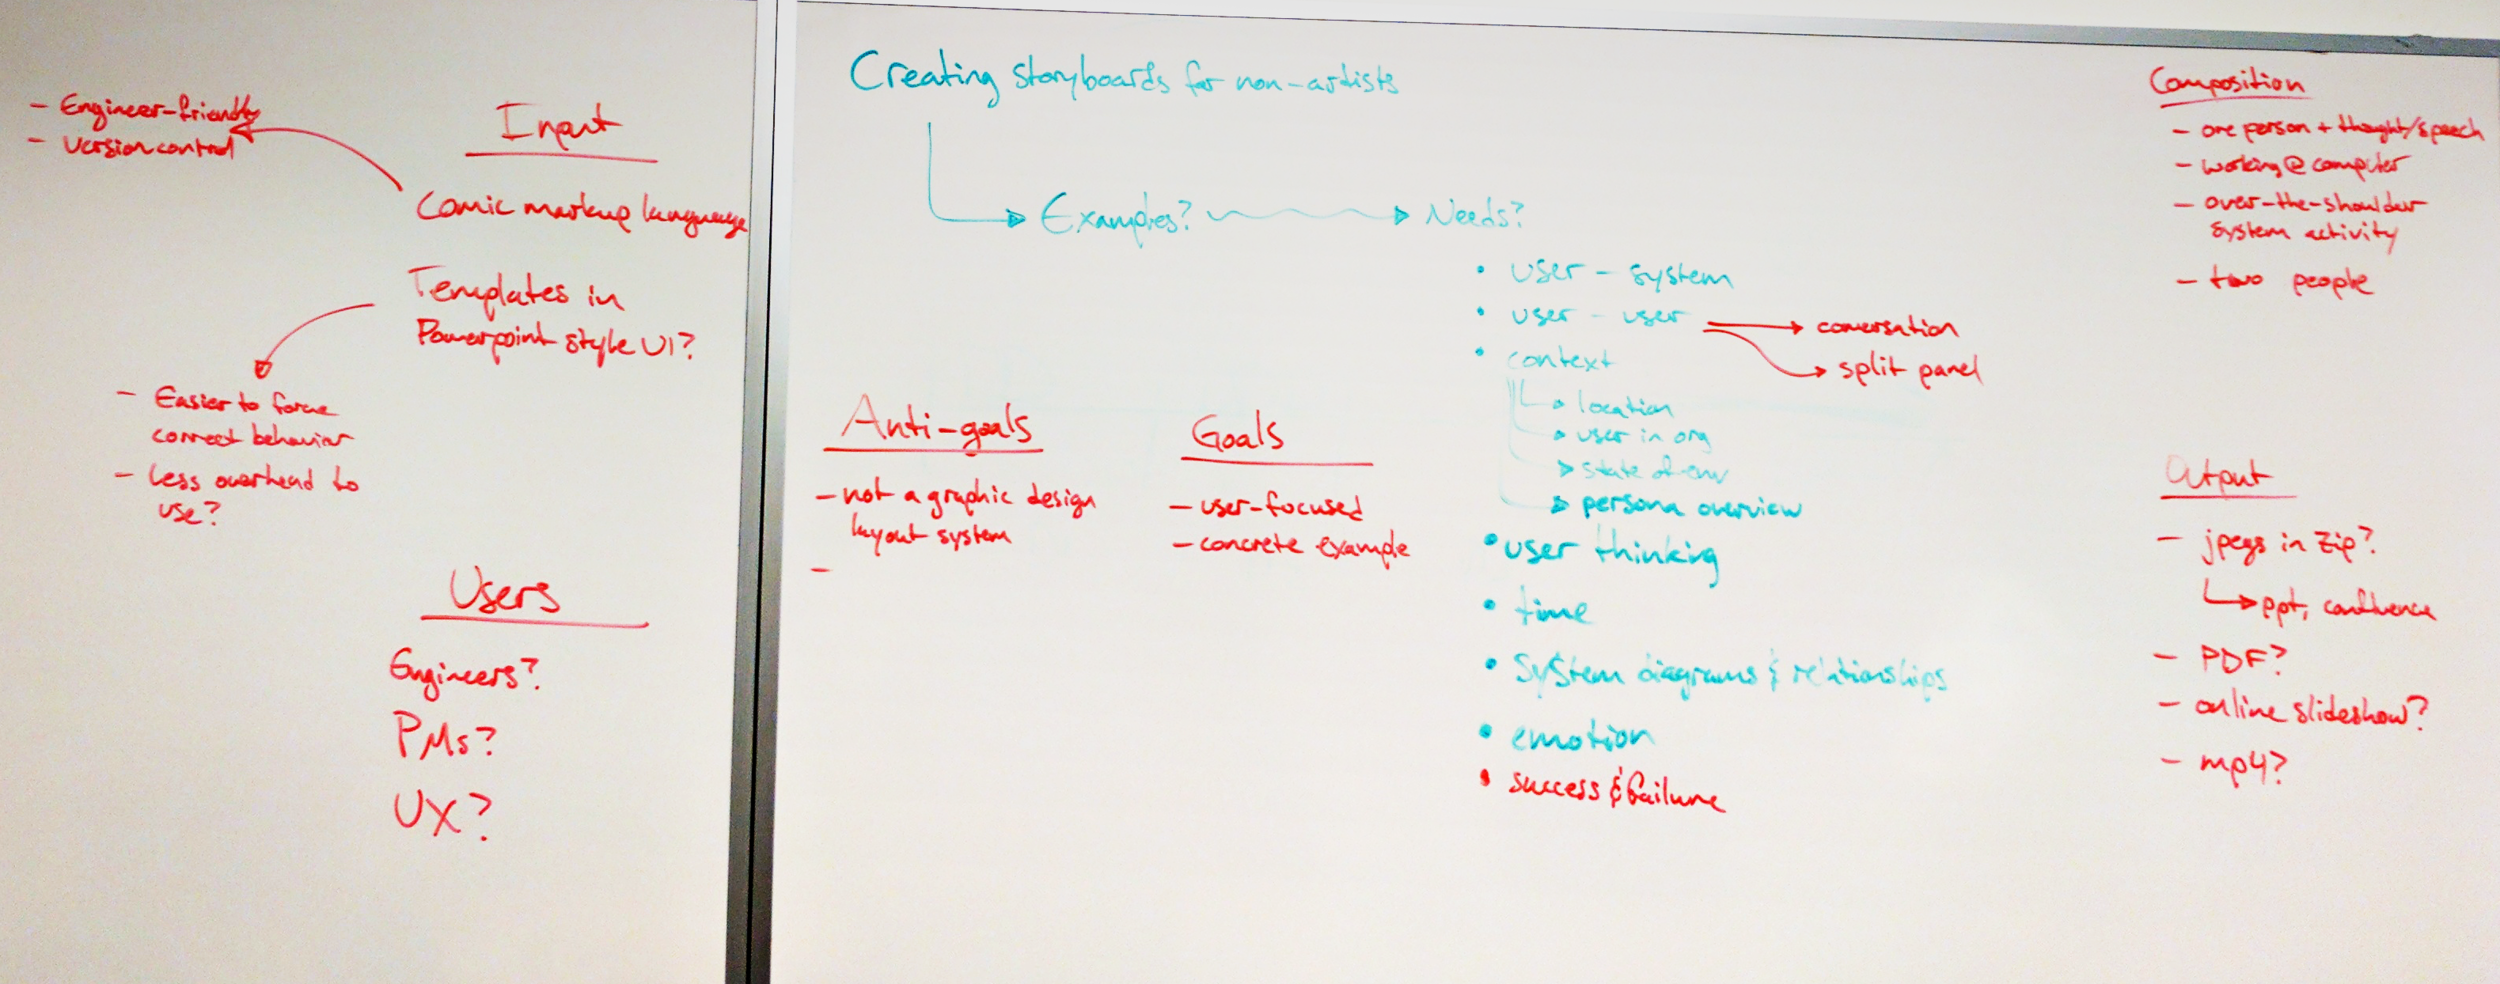
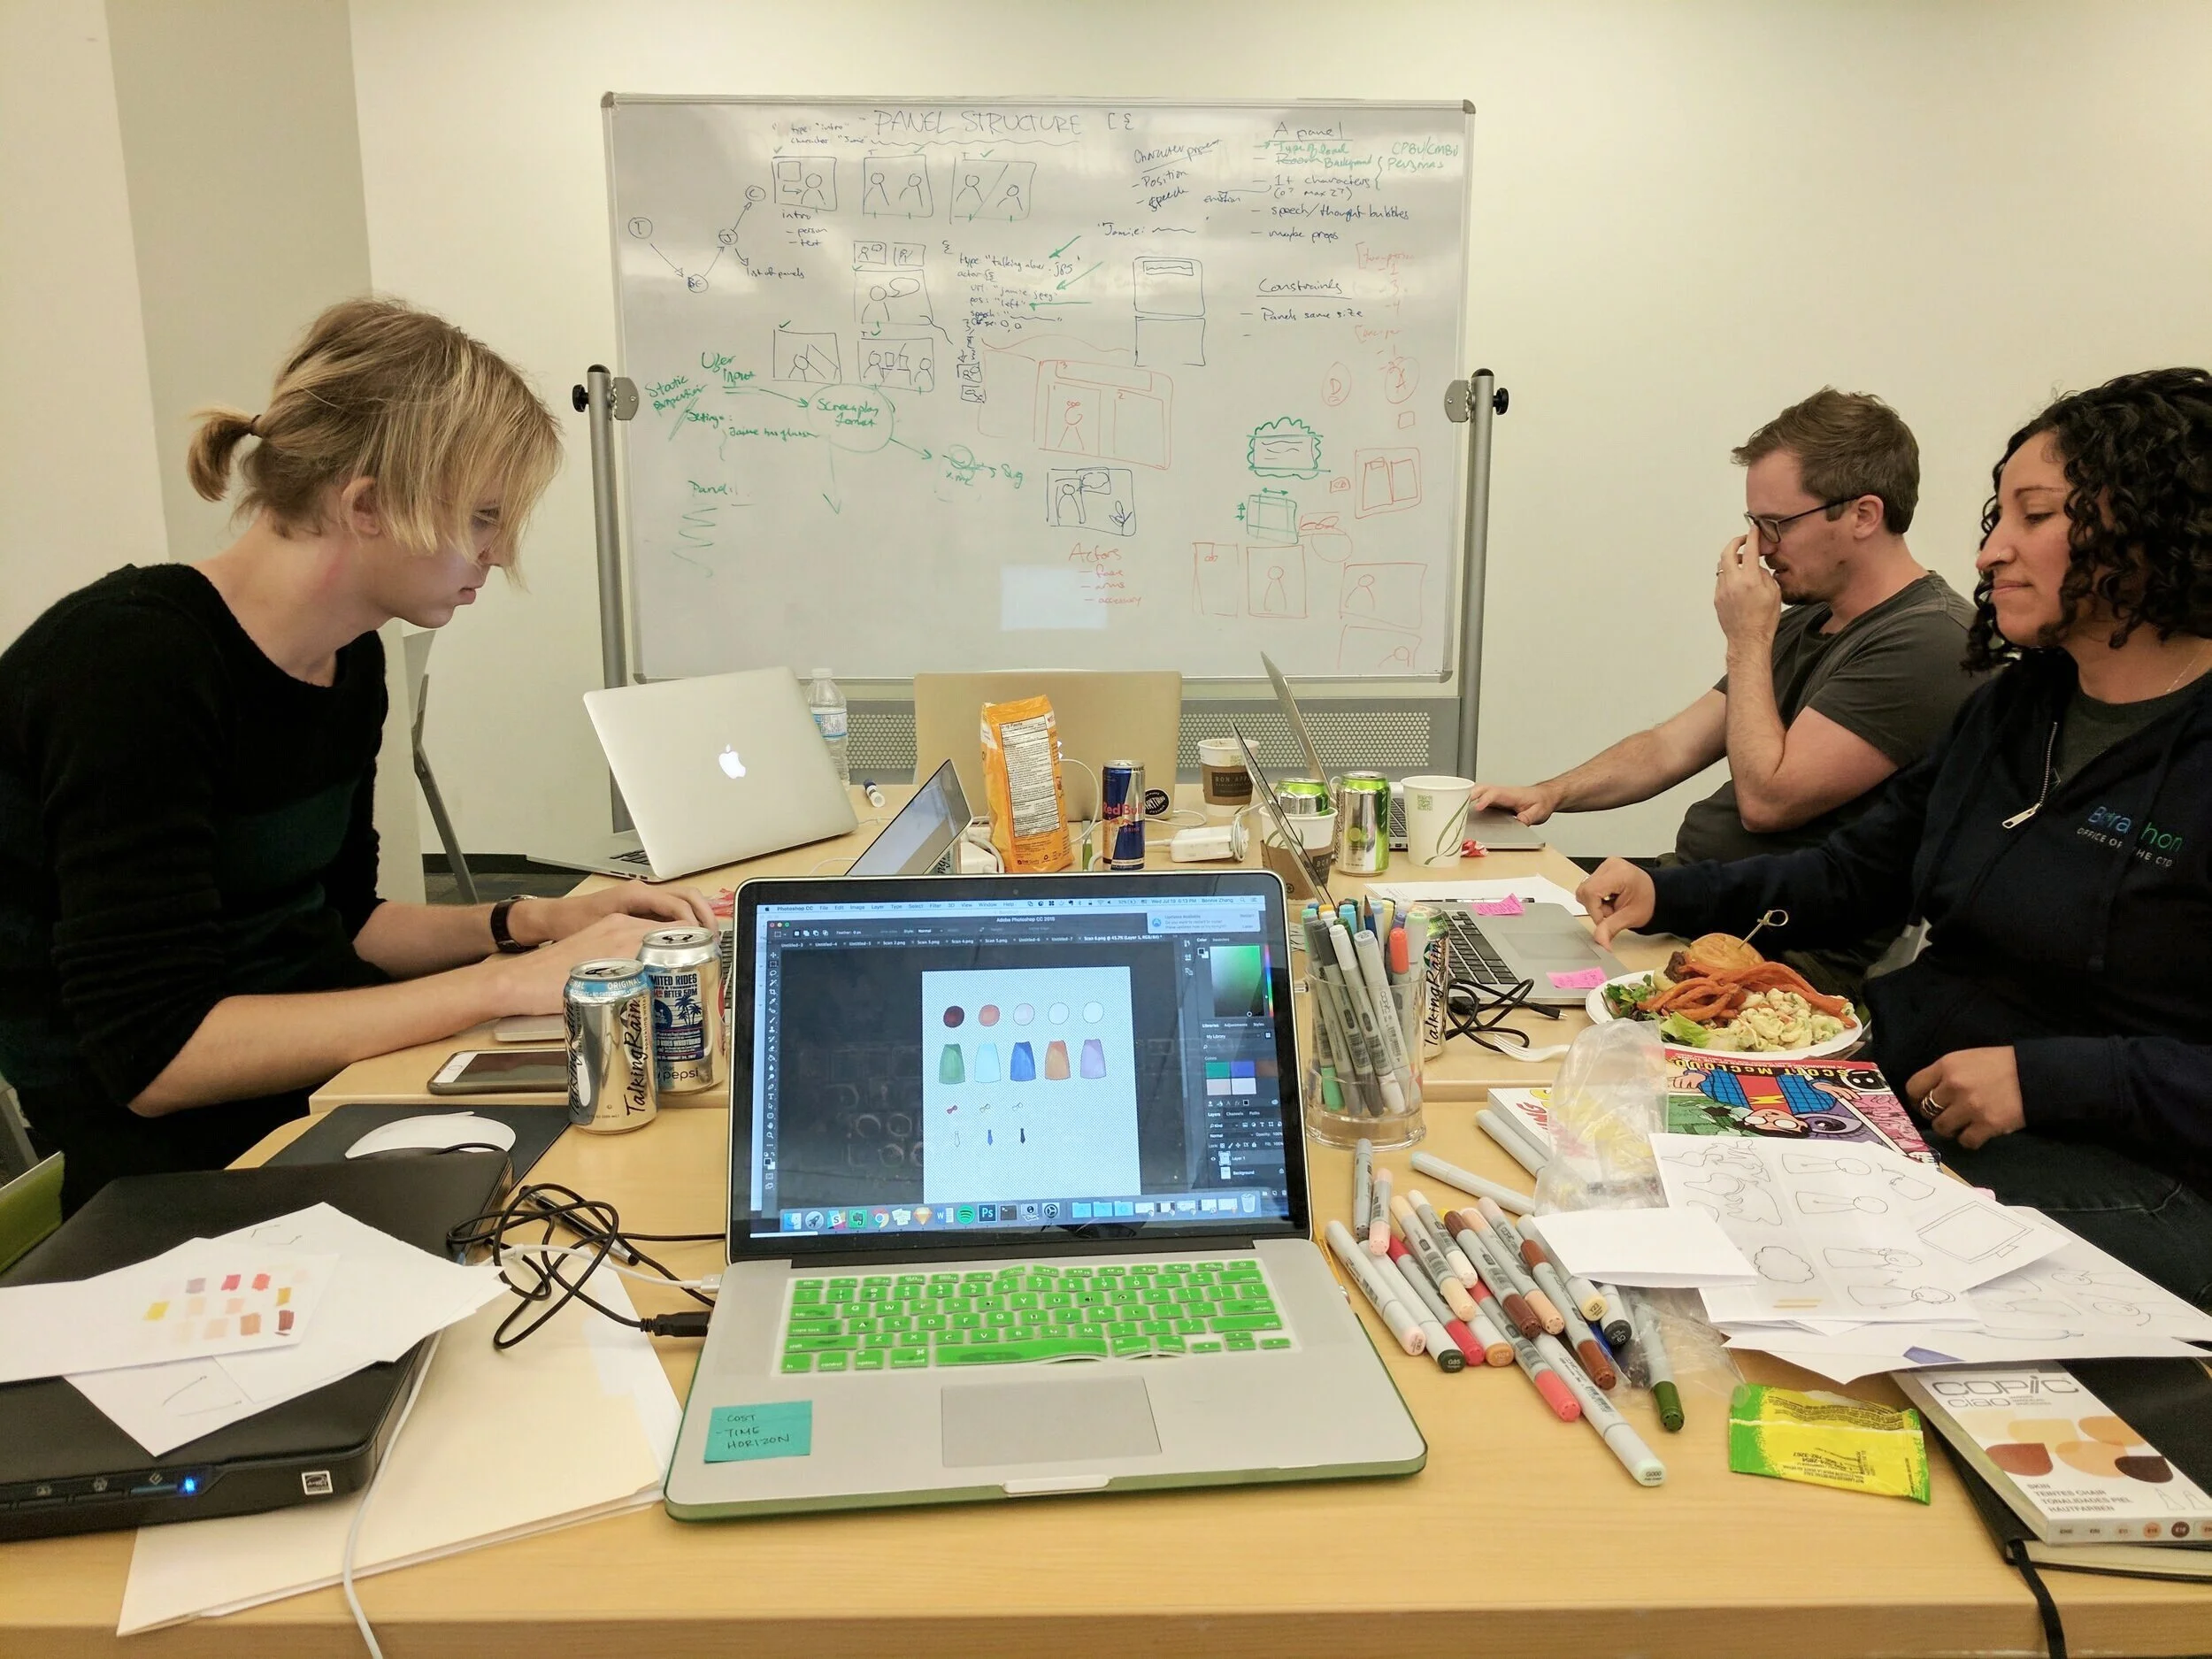
The first thing we did once the hackathon started was gather at the whiteboard to brainstorm and plan what we’re building. Some of the questions we had were:
What kind of inputs make sense from the user perspective?
What format would they need the output?
What level of customization would they require?
What types of assets would we need to create?
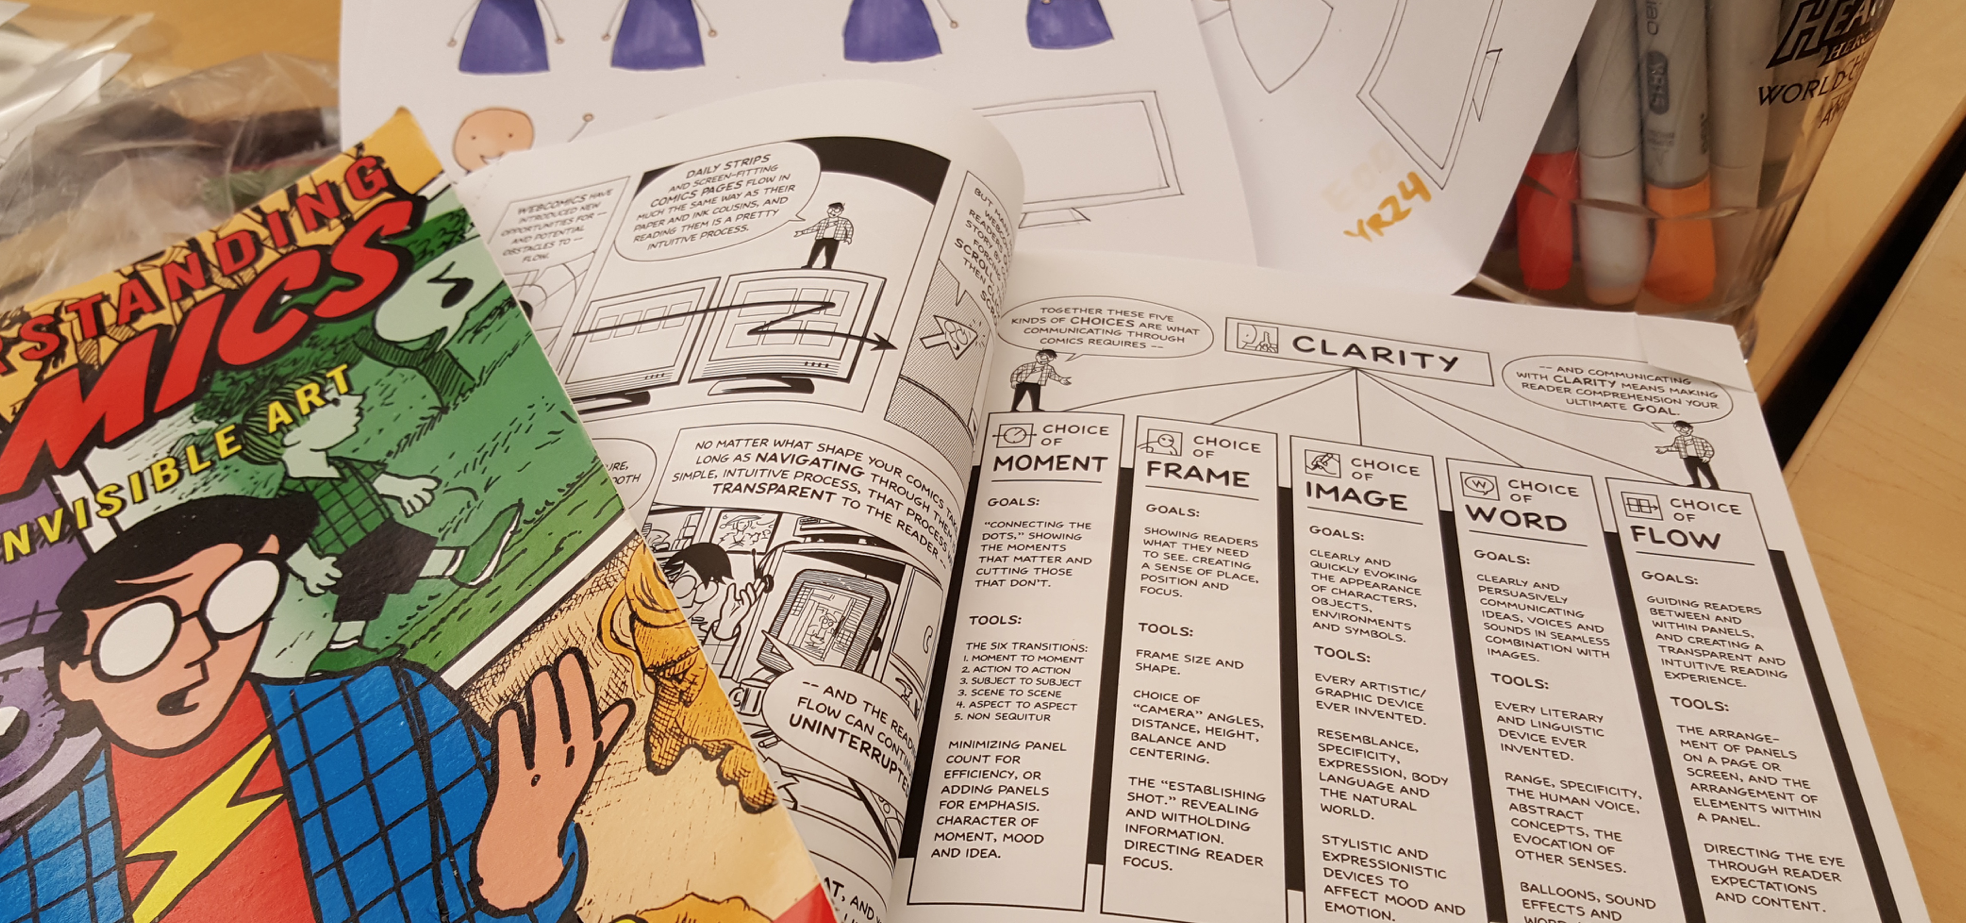
We also thought about how stories are told in other industries. Storyboarding became popular after Walt Disney studios started using it for its films almost a century ago; with that as a start, they then go through their own process to create the final feature picture.
Comic artists are always using different frames, panels, and dialogue to convey emotions, the storyline, and the setting.
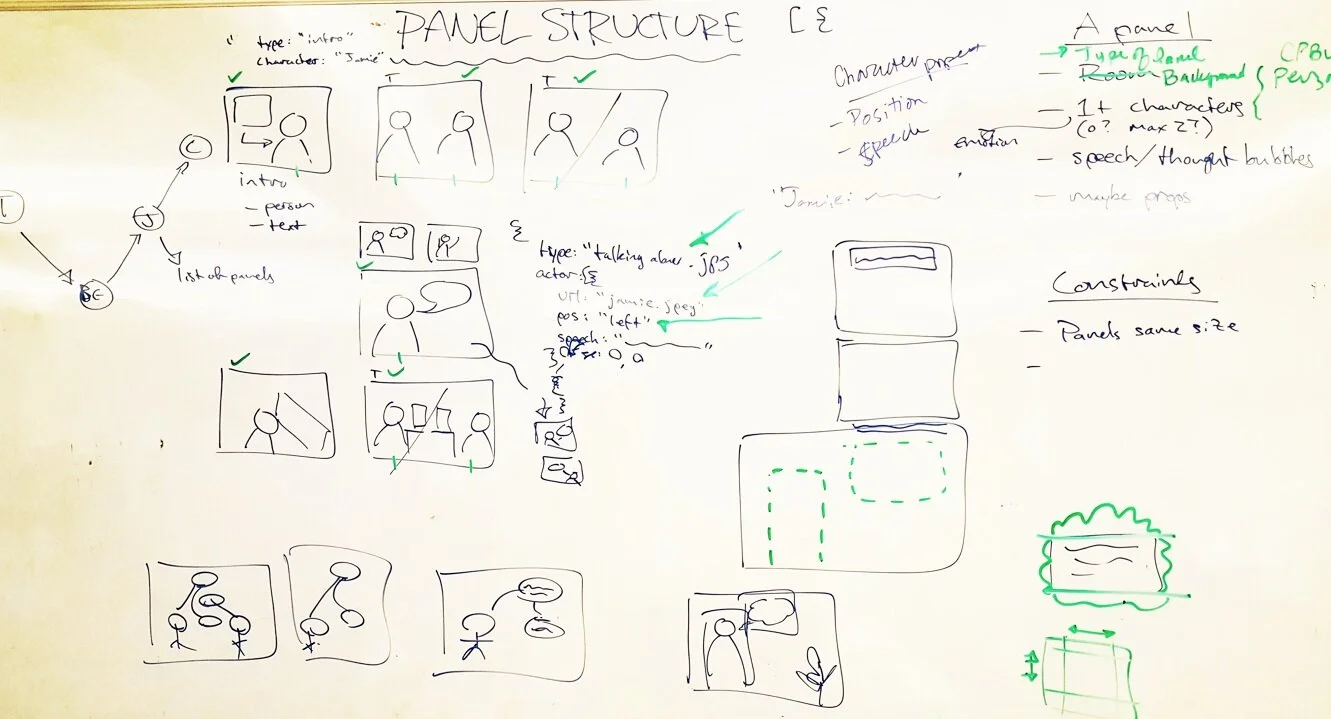
We decided the best way to approach this is to have panels that users can customize. In order to convey the proper information, each panel would include:
Background/setting
One or two characters
Speech or thought bubbles
Caption
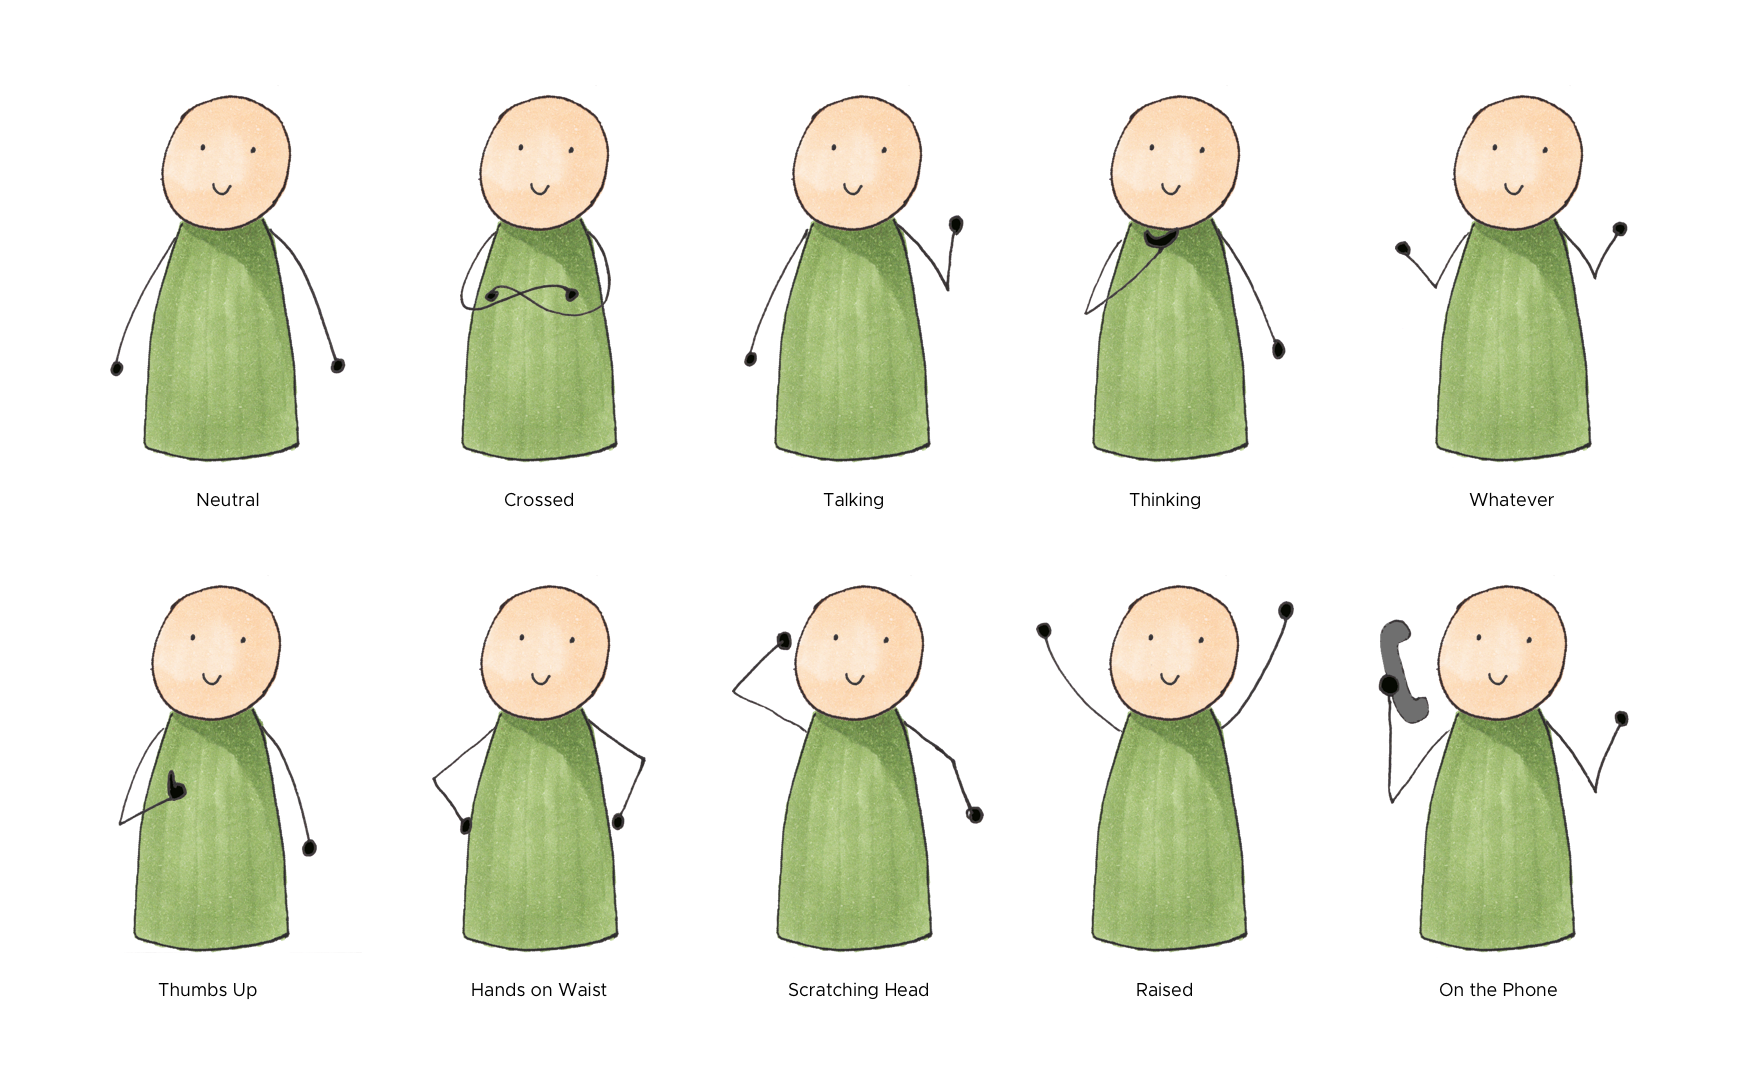
Since emotion is very important in storytelling, we want to make sure we can have modifications to the characters to show different facial expressions and hand gestures. All of the different pieces would layer on top of each other and have specific coordinate in the panel, so we can easily interchange different expressions and gestures.
divide and conquer
Once we finished brainstorming, we split up the tasks. Since my storyboards were the original inspiration and we wanted to use the same visuals, I was first tasked with drawing all the assets. I typically hand-draw everything, then convert them to digital assets. You can read more about that process from my personal project, The Boy Robot.
Unlike my previous storyboards where I can draw entire scenes at once, I had to de-couple all the pieces, so they can then be mixed and matched through the storyboard generator.
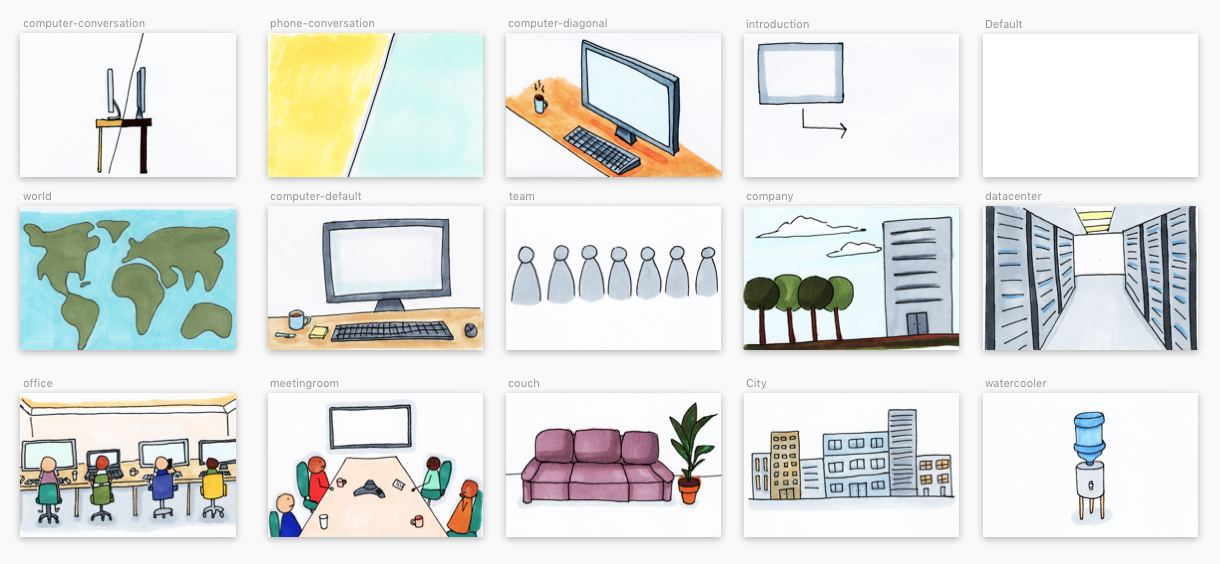
First, I considered the backgrounds. Since we’re in an enterprise domain and our target users are internal VMware engineers, PMs, and designers, I made the initial batch of backgrounds relevant to stories they might need to tell.
The first batch of backgrounds
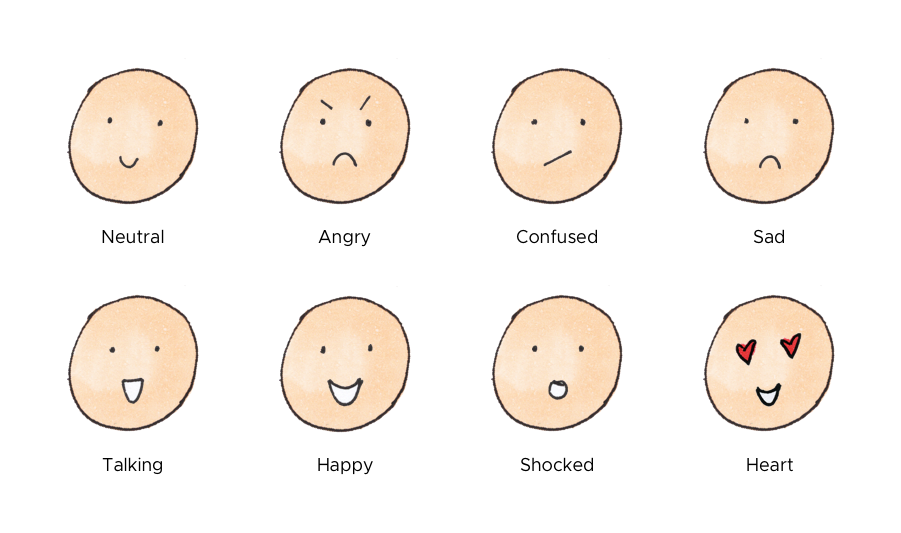
Next, I tackled the characters. I needed different accessories, shirt colors, and skin tones to help differentiate characters throughout the story. I also need to help them express joy, anger, sadness, surprise, etc.
An assortment of facial expressions
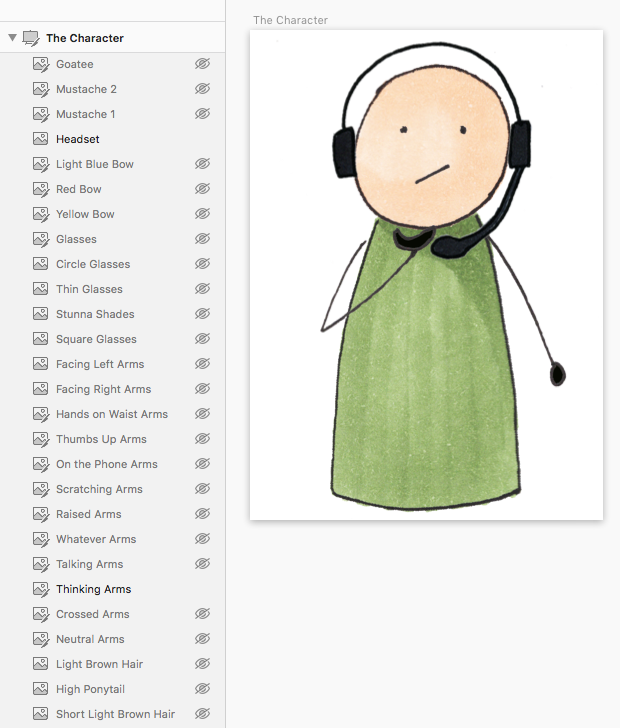
On top of that, I had to make sure assets were positioned correctly, so the engineers can just place every asset at the same coordinate to ensure they’ll layer nicely to create the final character.
To do this, I created a master artboard inside Sketch for the character, adding and positioning every asset on top and exporting the assets in the final position. This also helped me ensure all the assets fit into the frame.
I could also hide/show different layers to preview what different combinations would look like.
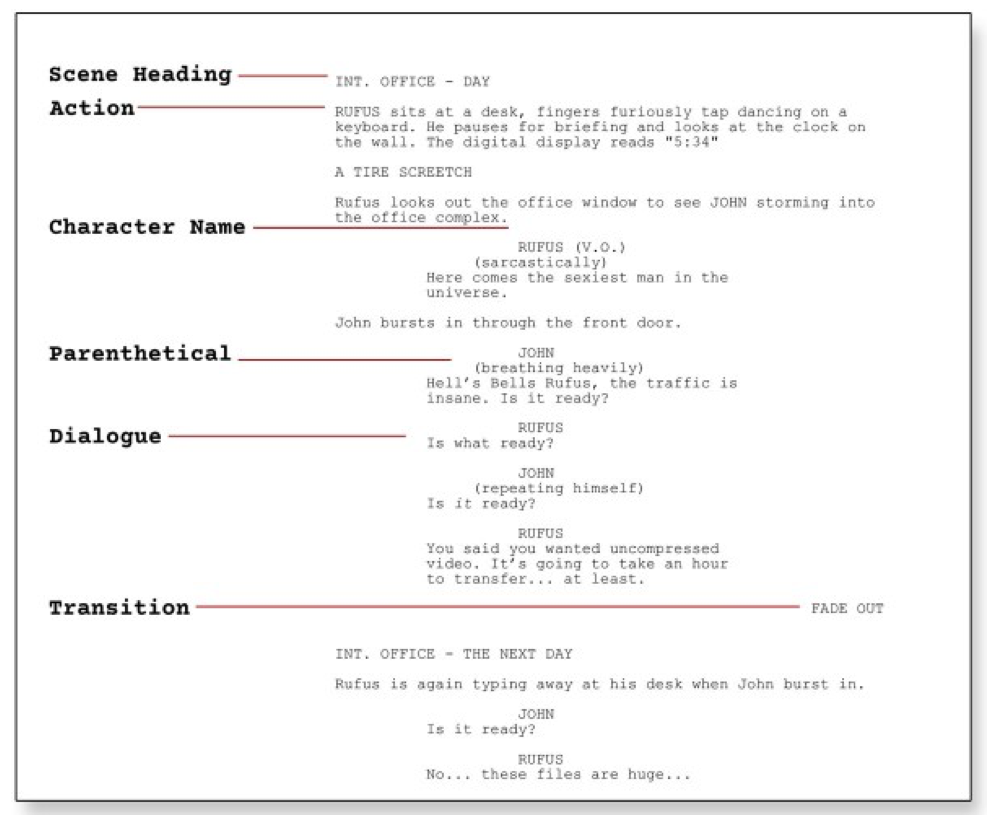
Meanwhile, the other designers on my team were working on input syntax, overall page layout and interactions, and documentation. They looked at how scripts are written today and how we can apply some of the same concepts to our storyboard generator.
A breakdown of a typical manuscript
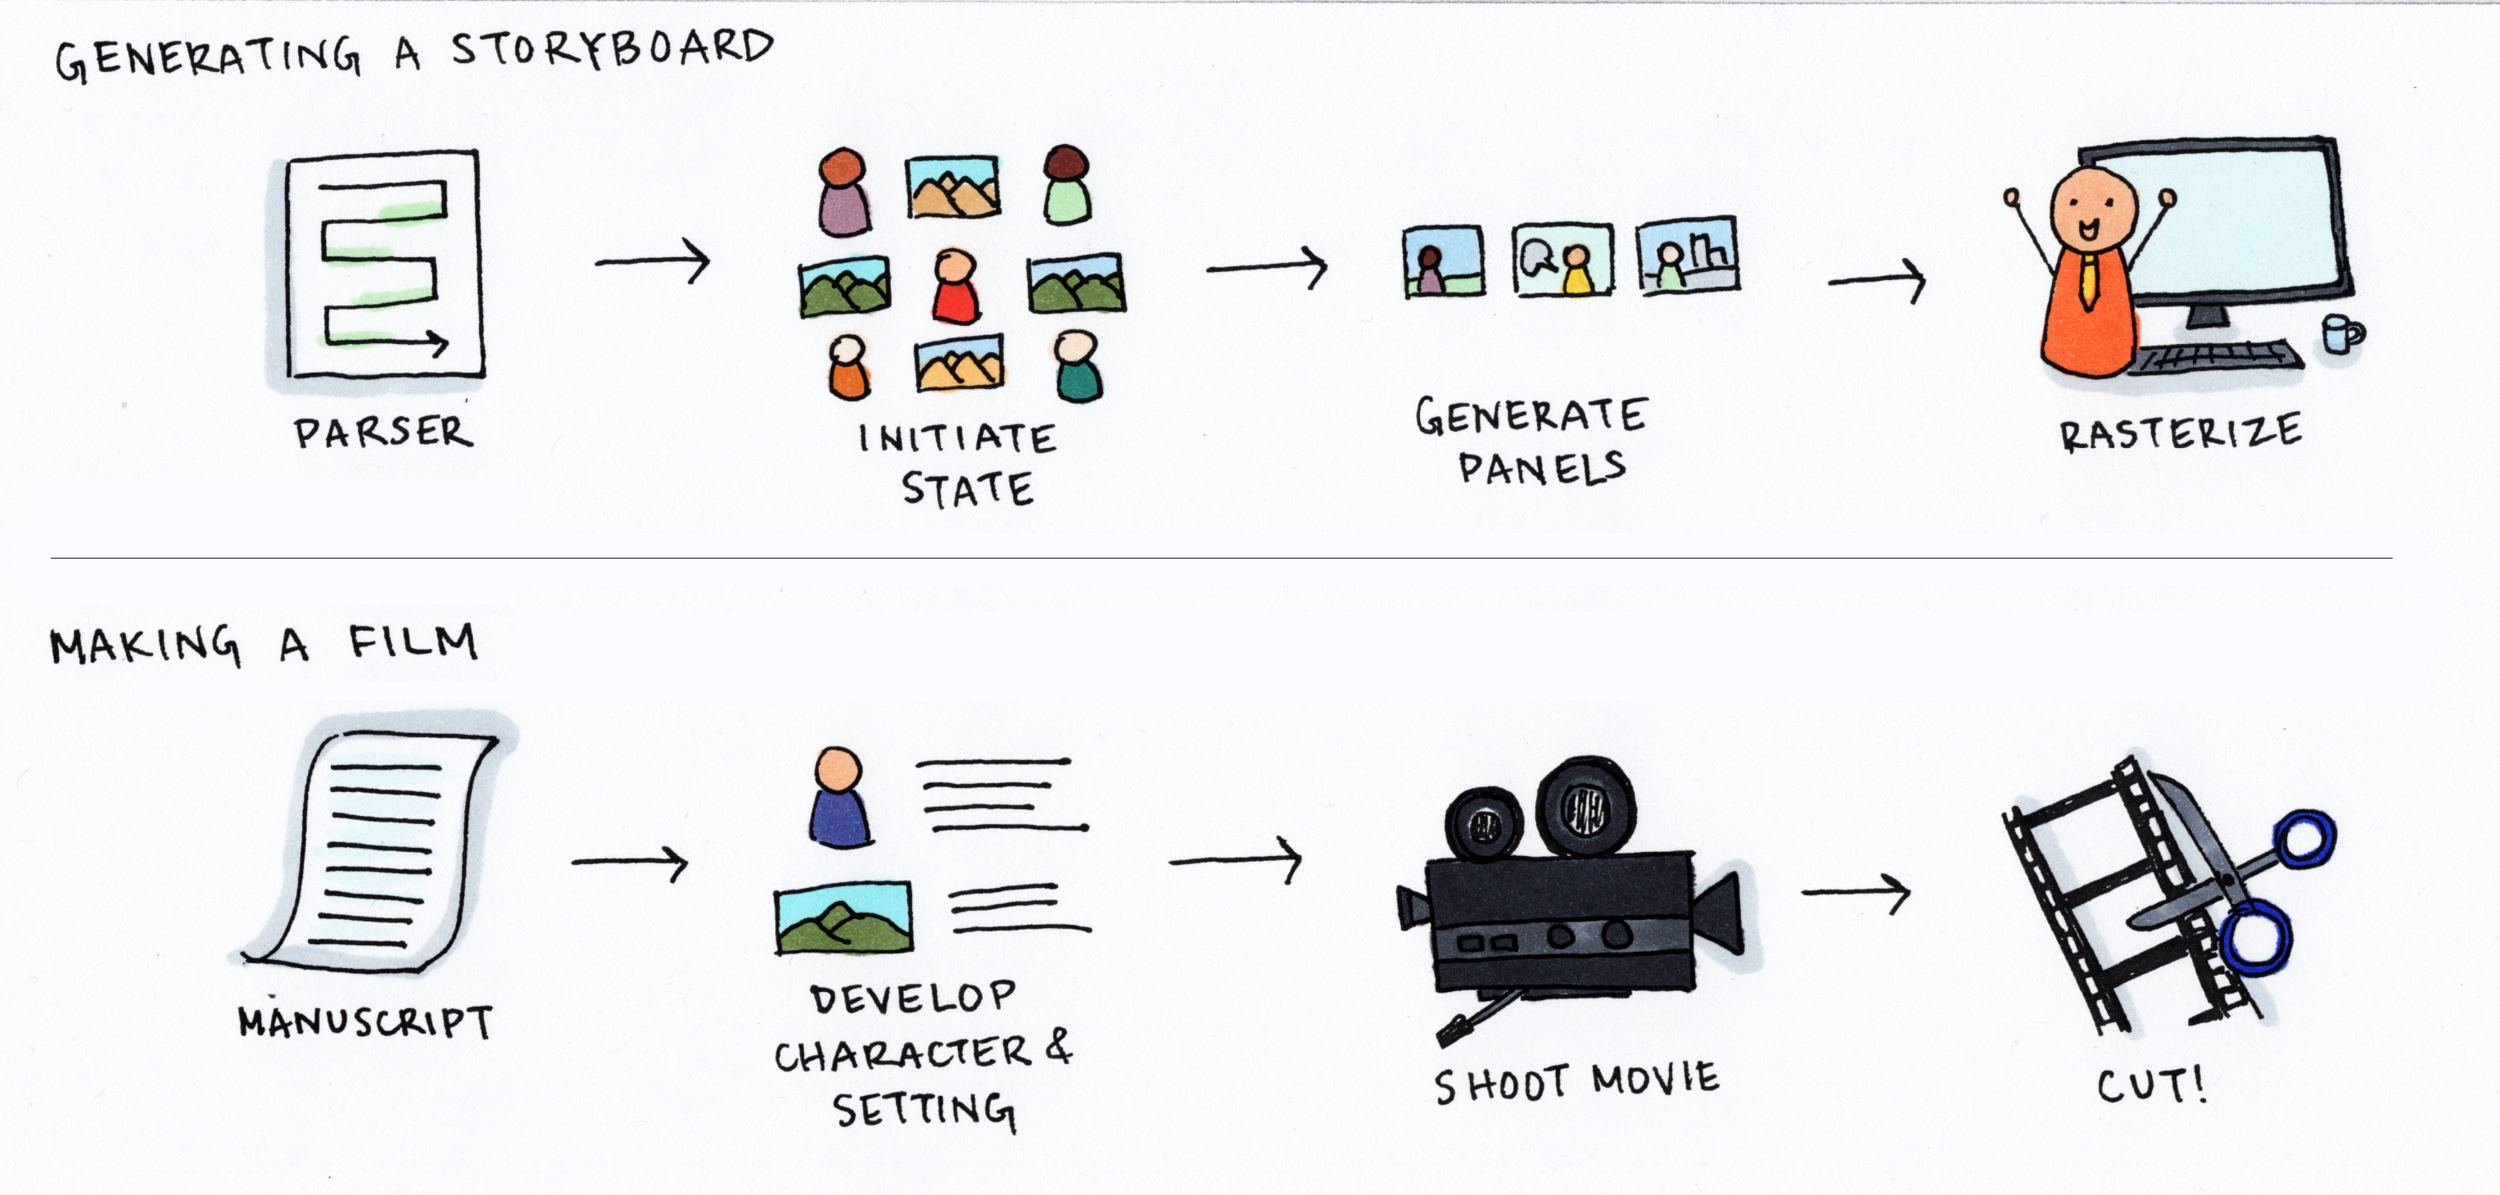
In the same way a manuscript translates into a final film, our user input would be parsed to then create the final storyboards.
Our project vs a Hollywood project
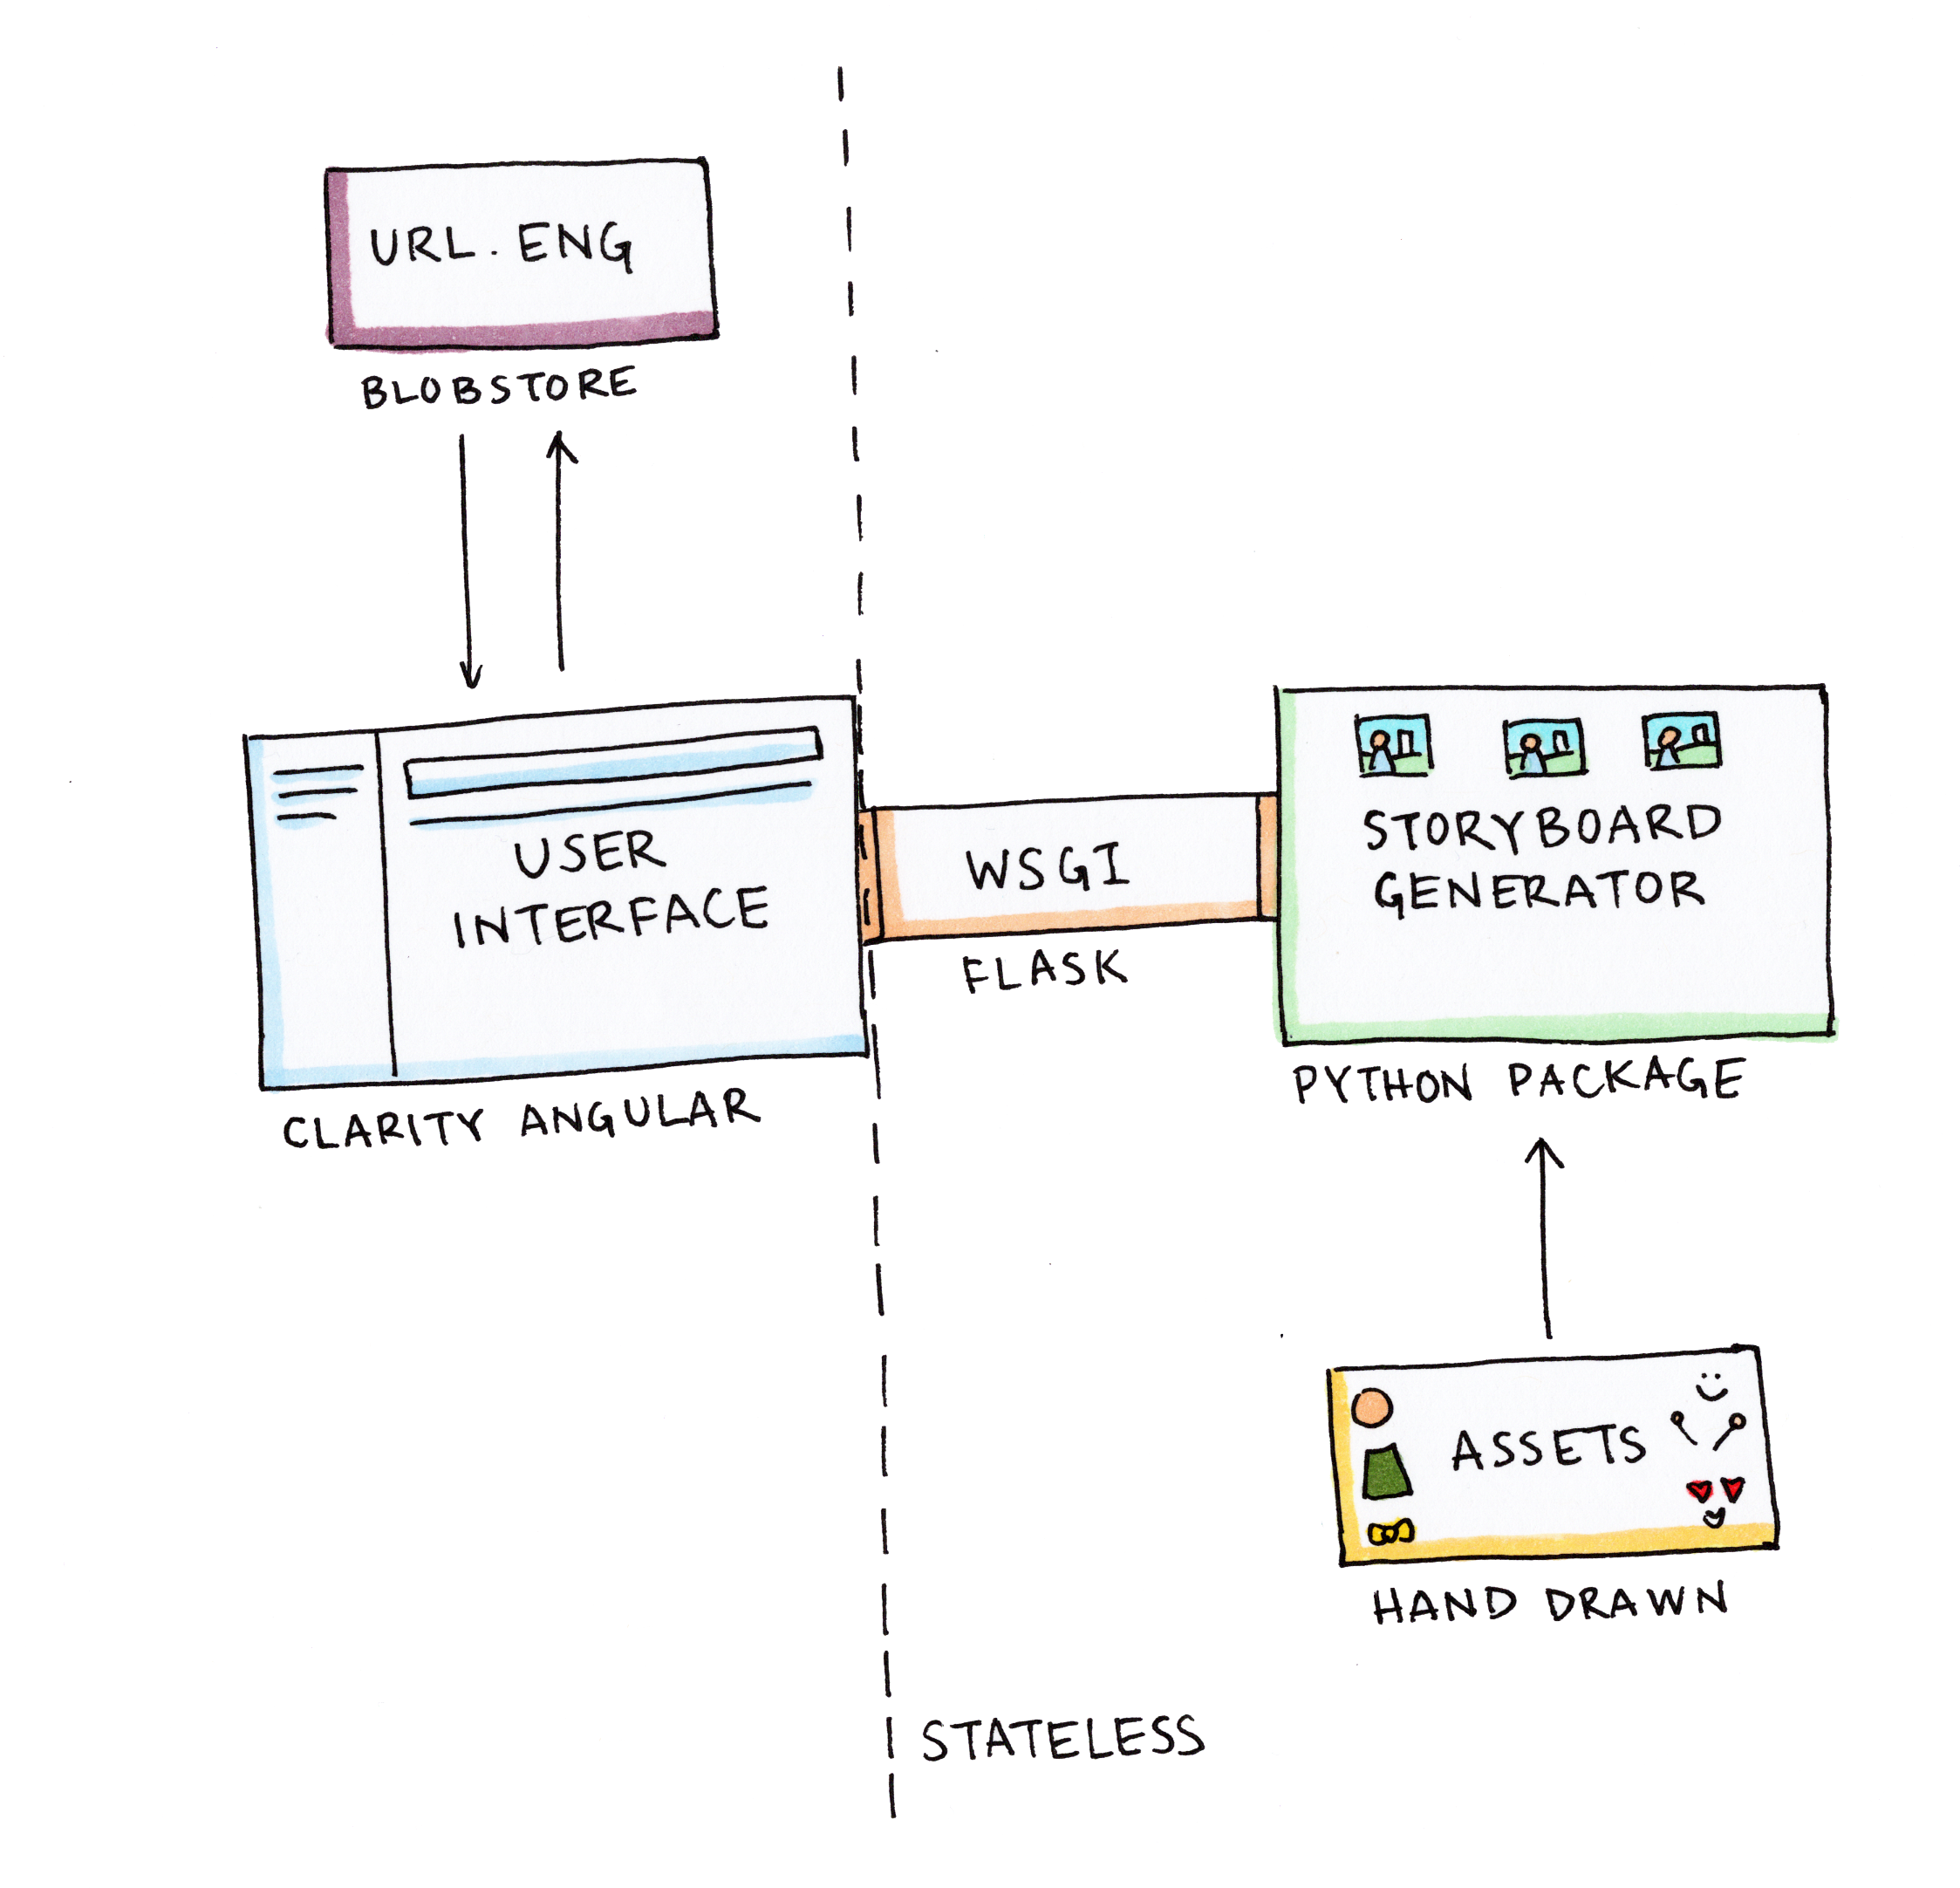
Lastly, the engineers worked to put the foundations of the code together. We were constantly having back and forth conversations to plan out how the assets will be conveyed in the final product. You can take a look at the final architecture diagram below:
CONVERGE, TEST, and iterate
Once we all finished the individual pieces, we converged to put everything together.
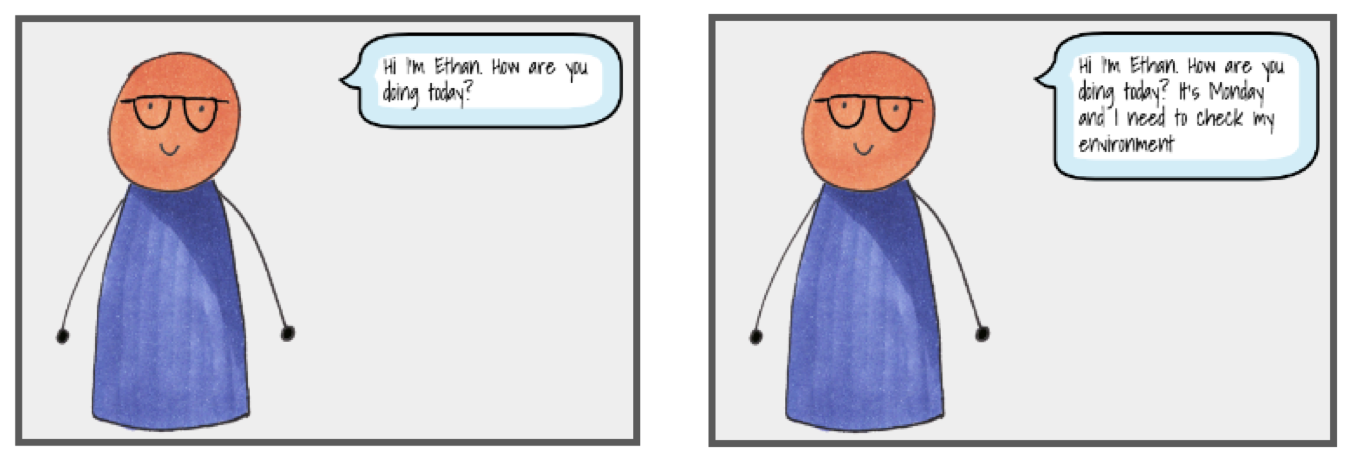
The character by default would be on the left side, with a speech bubble extending from them. Initially, we were going to use a speech bubble drawn by me, but we realized it doesn’t scale for large amounts of text and looks empty when there’s limited text. Our engineers did some more ideation and solved the issue by creating a dynamically sized speech bubble based on the amount of text.
We also converged on text input but needed some way of changing out the characteristics. Having the user manually modify every characteristic would be very tedious. Plus, we wanted to be a true storyboard generator, where the user can just write the story and have the storyboards come to life.
To do this, we decided on appending metadata to all the assets. For example, you can see below, we’re assigning characteristics to the different types of arms. When a user inputs words like ‘crossed’, ‘upset’, ‘unhappy’, ‘puzzled’, or ‘distressed’, we’ll automatically select ‘arms-crossed.png’ on the character. I worked with another designer to add all the metadata to the code and pushed it to the main branch.
The team then all played around with the prototype, trying out different scripts, looking for edge cases, and noting down bugs. We also reviewed the code and finalized the documentation.
RESULTS
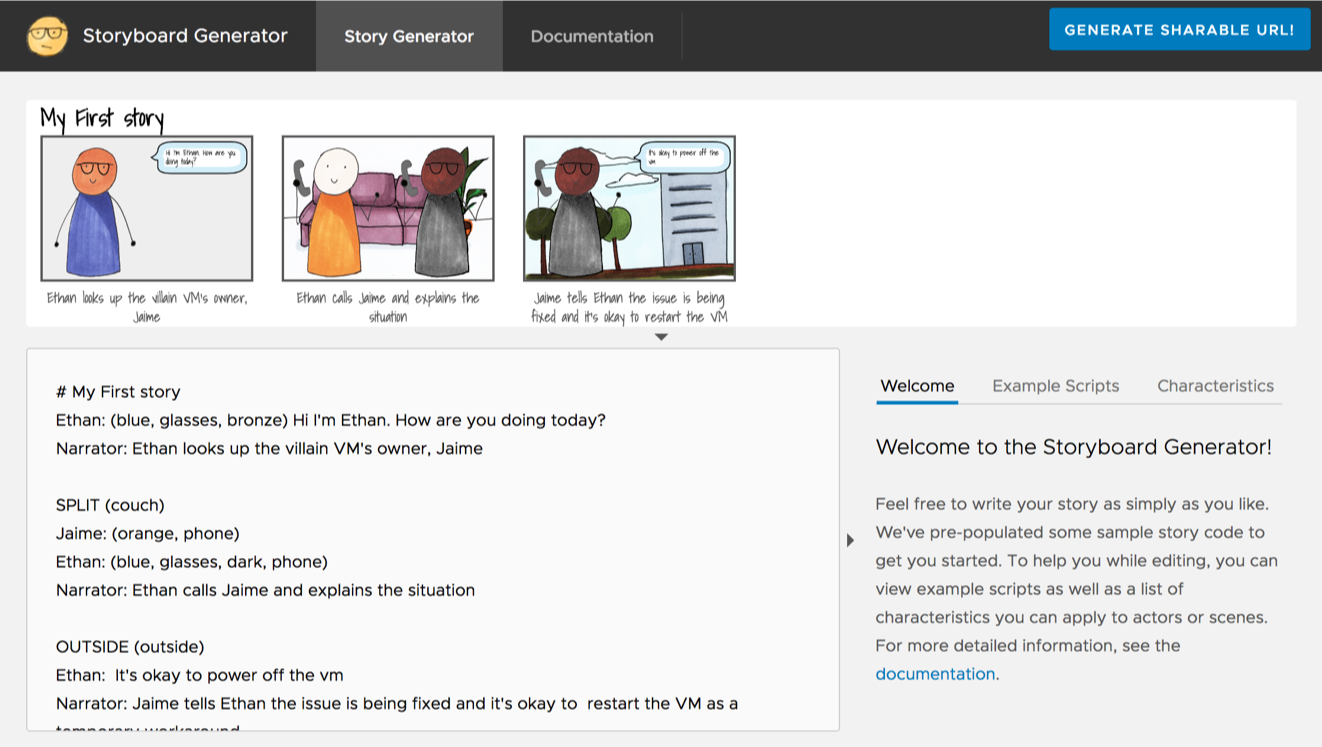
The tool we created is available on VMware’s internal networks, and you can take a look at a screenshot of the final product below. Even though we didn’t win the hackathon, we all learned a lot. Plus, our tool ended up being used across the company, including by many of my design team members.
For me, this was my first hackathon as a designer. I found it was a great opportunity for me to bond with the engineers I work with and gain empathy on some of the struggles engineers go through. It was also a chance for me to design from scratch without constraints and to play with some of the code. I shared my experience with the VMware design team and have inspired some of them to join in on hackathon projects as well.


